1. What is Coupon code block?
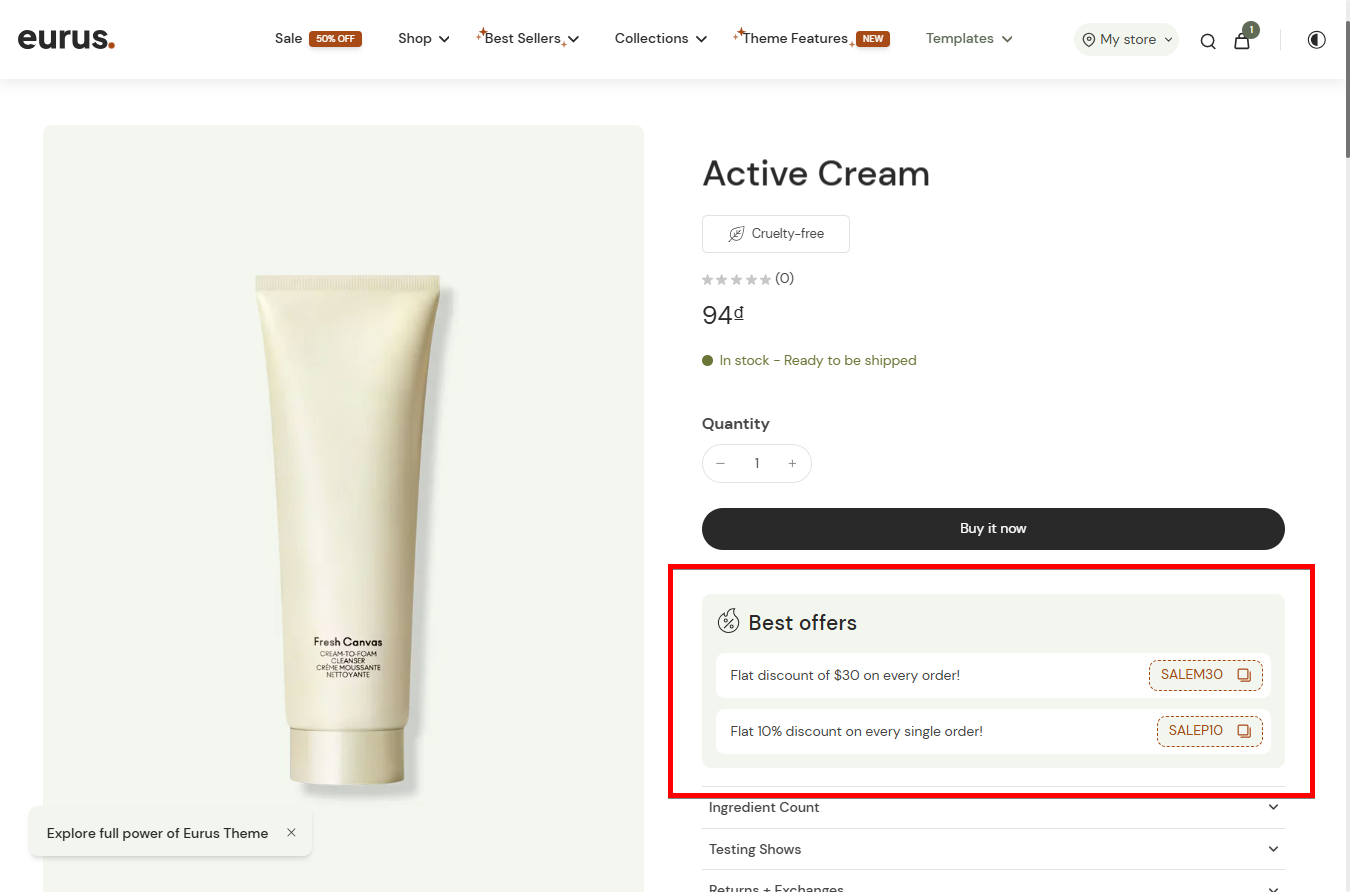
The Coupon code block appears on the Product page, allowing customers to copy the coupon code and apply it manually in the checkout process.
2. How to set up Coupon code block?
Want to display coupon codes on the product page but don’t know how to start? Here’s how:
STEP 1: Add the Coupon code block
In the Theme editor, go to the product page, and in the Product information section, add the Coupon code block to your product page.
STEP 2: Add the Coupon code content
Scroll to Coupon code 1, Coupon code 2 setting group, and enter:
- Text to show along with the coupon code.
- Coupon code (make sure the code works in your admin).
STEP 3: Style the block
- Choose edge styles for the block and the coupon codes.
-
In the Heading setting group:
- Choose an available Icon, use an icon from the icon list, or upload your own icon (image or SVG code)
- Edit Icon size.
- Enter Text for the block heading.
- Choose Colors for block elements in light and dark theme modes.
STEP 4: Click “Save” when done.
3. How to add a Countdown timer to the Coupon code block?
If you want to add a countdown timer to Coupon code block to create urgency among customers and encourage immediate purchases, here’s how:

STEP 1: Open the settings
Click on Coupon code block, and scroll down to Countdown timer settings group.
STEP 2: Enable countdown timer
At Countdown timer, choose between:;
- Standard timer: Count down to a set end time.
- Evergreen timer: Create continuous urgency by automatically restarting, perfect for ongoing promotions that don't have a fixed end date.
STEP 3: Set up the countdown timer
|
For Standard timer |
For Evergreen timer |
|
|
STEP 4: Customize the layout of the countdown timer
At Timer style settings group, choose Text position, Timer style, Line and border for the countdown timer.
STEP 5: Click "Save" to apply changes.

